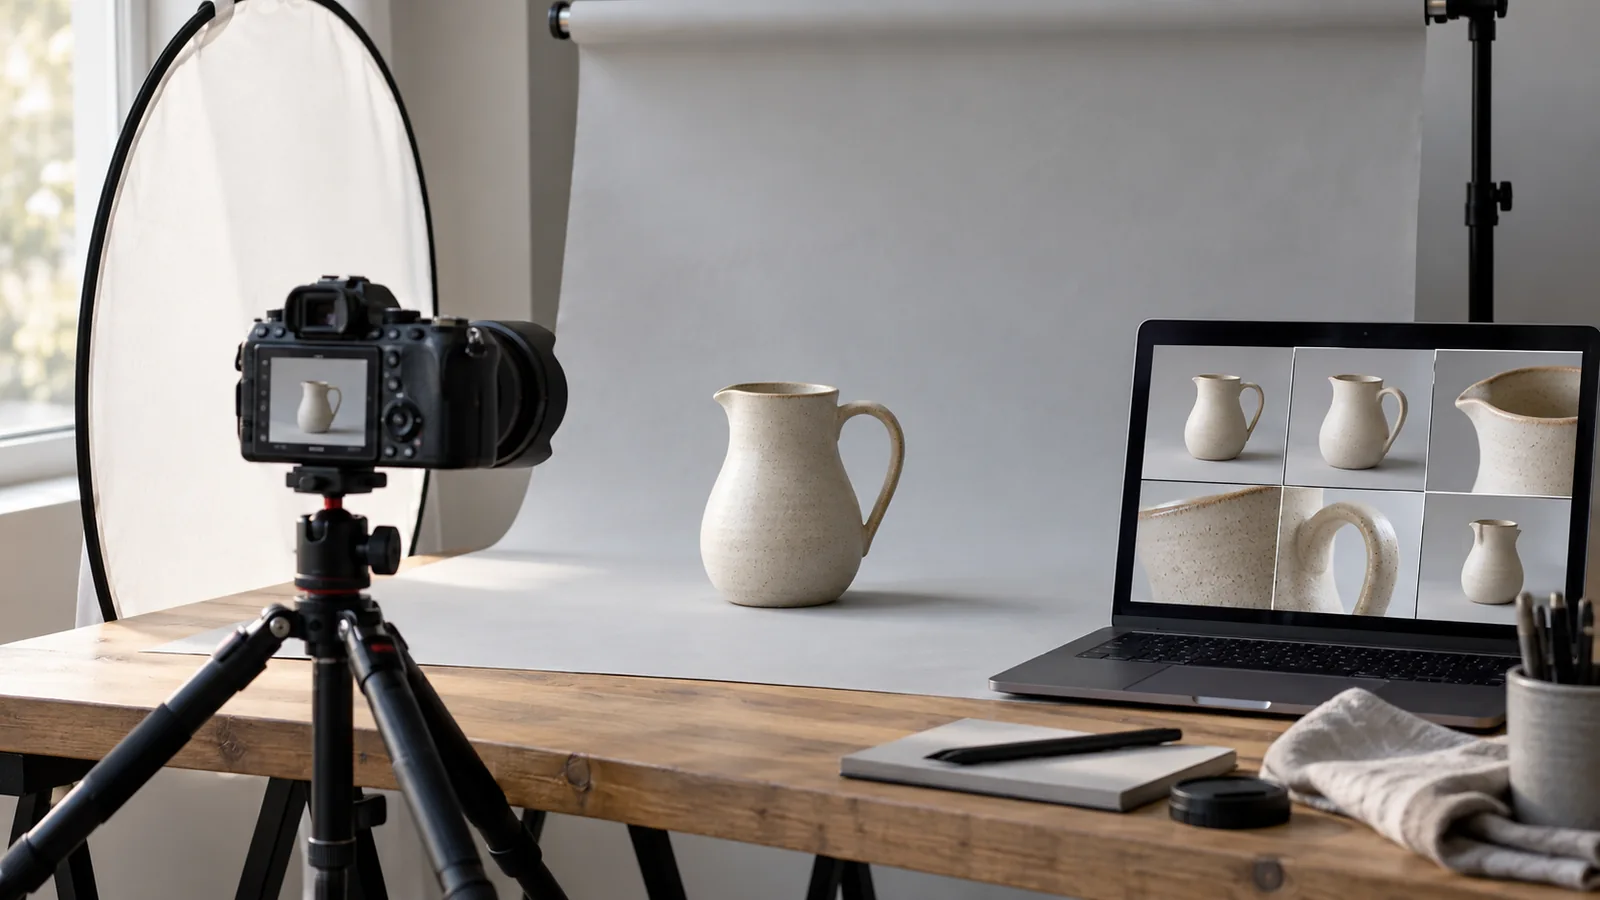
Product photographs help customers recognise an item, judge its scale and inspect details they cannot see in person. An attractive composition matters, but a useful gallery explains the offer. Before organising a shoot, work out what the buyer needs to understand.
At CopperAndCraft, I work with metal, patina and finishes whose appearance changes with the light. These materials need a different approach from a plain cardboard box or a cotton bag. Adapt the following plan to your own catalogue. It is neither a promise of increased sales nor a shopping list of equipment you must buy first.
Plan the information before setting up the camera
Choose one product and list the buyer’s questions. How big is it? What does the price include? What do the surface, back and mounting system look like? How do the variations differ? Assign each question a photograph or a place in the description. This gives the shoot a purpose beyond producing many similar images.
Prepare a list of products, variations and details to photograph. Label the samples so you can identify finishes and sizes afterwards. If a finish appears across several collections, record the full product identifier. A little organisation now saves the task of identifying nearly identical files weeks later.
The first photograph should identify the product
A buyer should recognise the item in a thumbnail without reading tiny text. Choose a view that shows its shape and defining feature. The background can provide context without competing for attention. Show what is included in a set; for a single item, avoid a composition that suggests several pieces come with the order.
Review the image at a small size on your phone. Can you tell what is for sale? Are important edges cropped off? Could a prop be mistaken for part of the purchase? Leave instructions, all the available options and the complete brand story to the other images and text.
Give each photograph a different job
The following is a working checklist, not a required number of photographs. You can combine some views for a simple item; a complex product may need more. The next image should answer a new question.
| Photograph | What it explains | What to check |
|---|---|---|
| Complete product | Shape and contents of the offer. | Props must not imply extra components are included. |
| Close-up | Texture, joints and finish. | The relevant feature must be in focus. |
| Scale or use | Size in a familiar setting. | Perspective does not replace measurements. |
| Side and back | Construction, thickness and fixings. | Show parts relevant to installation or use. |
| Variations | Differences between available options. | Labels must match the purchase selector. |
| Package contents | Accessories and supplied components. | Show only what the customer receives. |
Use consistent lighting and a simple background
You can begin beside a window, using a plain background and a white surface to reflect light into the darker side. Choose a time when the conditions are reasonably steady. Mixing daylight with a strongly different-coloured lamp can make finishes harder to compare.
Take a test photograph before shooting a full batch. Examine bright highlights, deep shadows and detail sharpness. Record the product and camera positions, even with a quick picture of the setup. When a new variation arrives next month, you can reproduce the presentation. Consistency often comes from a repeatable process rather than elaborate scenery.
Prioritise stability and control over equipment
Check what your existing camera or phone can produce before buying anything. Clean the lens, stabilise the device and inspect the image at full size. Look for motion blur, blown highlights and unnatural smoothing. A more expensive camera cannot automatically fix poor lighting or confusing composition.
Be careful with a very wide phone lens used at close range: it can distort proportions. Step back and compare the image with the actual object. A tripod helps keep variations consistently framed. For a technical detail, showing the relevant part clearly matters more than creating an attractive background blur.
Show the character of the material
Metal reflects its surroundings. A patch that seems to be a flaw or finish variation might be the reflection of a window, camera or dark wall. Move the light and observe the surface before taking a series. Do not remove every reflection: some help customers distinguish a matt, brushed or glossy finish.
With CopperAndCraft, a close-up of the patina and a full view do different jobs. One explains the surface; the other shows the overall composition. If the process creates natural differences between individual pieces, explain them. Editing every photograph to an identical pattern would misrepresent products that are not identical. The same applies to wood grain and ceramic glazes.
Show scale and state measurements separately
A photograph in a room helps buyers imagine an item, but it is not a measuring tool. Furniture size, camera distance and perspective can change the impression. Give exact dimensions in the description and add a clear size graphic or measurement view where useful. Explain whether the figures refer to one component or the complete arrangement.
For wall art, thickness and hanging details may matter. For a container, show the opening and interior; for a handle, the fixing centres may be essential. Select information according to the product’s use. A technical diagram earns its place when it helps somebody choose.
Edit for clarity while preserving the product
Cropping, balancing exposure and cleaning up the background can bring a series together. Editing becomes misleading when it alters the shape, hides meaningful characteristics or invents a finish. Compare the processed image with the physical item, particularly after strong filters or automatic colour adjustments.
Generated settings can illustrate a concept, but must not be presented as documentation of completed work. Etsy’s listing image policy generally requires your own photographs of the actual product, with defined exceptions. Check the rules for your listing type before using a mockup.
Prepare files for their actual destination
Keep original files separately and export publication copies. Etsy’s image guidance, referenced for the original guide on 12 October 2026, recommends listing photographs at least 2,000 pixels wide and high. It also explains sRGB and thumbnail cropping. Recheck the guidance when preparing a new export, because platform requirements can change.
A blog banner’s proportions are not automatically suitable for a product photograph. Review the uploaded Etsy crop. In Shopify, check both the product page and the collection card. Leave space around the item so important details survive different thumbnail shapes.
Use filenames that identify the product, variation and view. Alternative text should describe what the image shows when it cannot be seen, rather than list search phrases. Also check your own store on a slower connection. Large original files should not be uploaded unchanged when a smaller web version preserves the necessary detail.
Make the photographs and description agree
Review the gallery and text together. Does the finish name match its photograph? Are the fixings shown actually included? Does the photographed set match the quantity covered by the price? Contradictions remain a problem even when every individual photograph looks excellent.
The guide to writing Etsy product descriptions helps organise the accompanying information. Preparing words and images together makes gaps easier to spot. After publication, collect customer questions and distinguish those needing clearer wording from those needing another photograph.
Work with the gallery you already have
Start by assessing existing material. Reordering images, cropping the first photograph and removing duplicates may be enough. Missing mounting details or unclear variations need additional shots. Name the gaps before commissioning a full new shoot.
Within Etsy Listing Improvements, I help select, organise and crop supplied photographs as part of work on ten listings. A new photoshoot is a separate task. For Etsy Start, gathering complete materials before work begins avoids delays caused by an undocumented variation or missing specification.
For my own brand, CopperAndCraft, I prepared the product photographs myself. That work taught me how important it is to show texture and colour clearly under different lighting conditions.
Need help with Etsy, Shopify or a business website?
Tell me about your project. I’ll reply personally.
Enquire about a consultation ↗US$90 excl. VAT / 60 minutes · By appointment